Over the years, I have learned so many different techniques in Photoshop to accomplish one to many things. Sometimes I forget how useful they might be to another person even though it has become second nature to me now. This simple technique of creating a pattern proves to be very useful as I use it on a lot of the websites I design including the pattern on my own header. It really is the little things that count when designing something and I think that it’s pretty bad seeing a website with a background that clearly is a picture being repeated with sharp lines in between each repeated image.
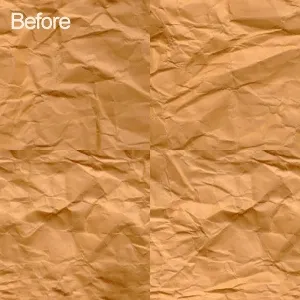
For this example we will be using this image:
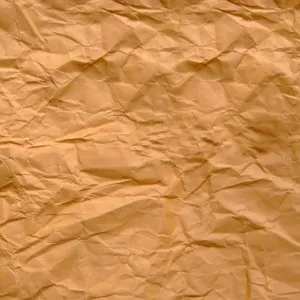
You can right click and save it, or you can always use your own image. The concept behind this technique will be the same.
With our current pattern repeated, there would be noticeable creases in between each repeat as demonstrated below.
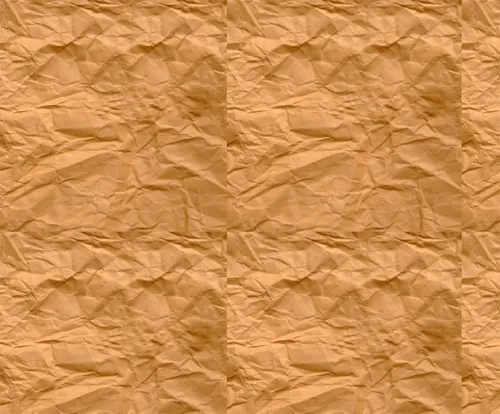
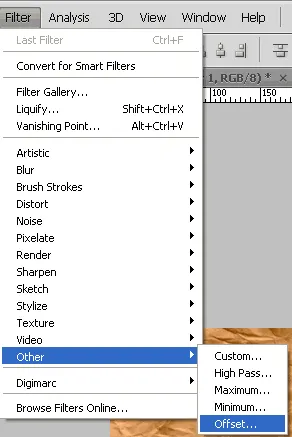
The creases are what we will be getting rid of in order to achieve a cohesive pattern. The trick behind this technique is a filter called offset which is in the bottom of the filter menu under “Other” as shown below.
Since our image is 300px by 300px, we want to set the vertical offset and horizontal offset to half of the height and half of the width.
Note: You technically don’t have to offset by half, but it makes it easier since the area we need to modify will be dead center.
That would be 150px for both values. Make sure you also have “Wrap Around” selected as well as the Preview box checked which allows you to see the results of entered offset values as shown below.
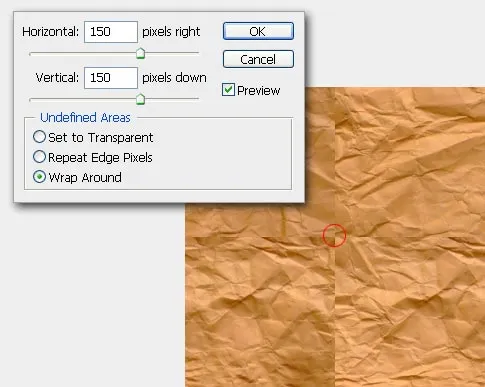
The circle represents the center where the pattern will meet if it were repeated horizontally and vertically which is what we will do for this example.
Note: In the case where something will only be repeated vertically or in the case of my header, horizontally, you will only need to offset in that direction.
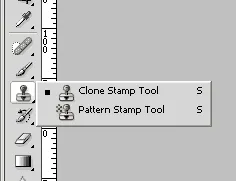
After offsetting your pattern by half, the final step is to fix the creases in the middle. You can do this a number of ways by masking, cloning, healing etc. Since most of the time the pattern is usually for a background, my weapon of choice is the clone stamp tool which you can grab from the dock or by pressing S.
Depending on how precise you want to fix the creases is up to your own preference. The trick is just to offset the image in the direction you want it to repeat it in and fixing up the middle. Just make sure to be careful with the edges because the offset was applied in order to have the edges go together.
Below is the transformation of the pattern offset to the fixed version.
And that’s all there is to it! If you want to see a page with the before and after textures in action click the link below: